How to install Smartcode Print for Windows
Open smartcode-print.msi If you are on Windows 10 or 11 you will likely see this: !Image Click on More Info and it will change to this: !Image and you can click "Run anyway". If you want to double...
How to install Smartcode Print for Windows
Open smartcode-print.msi
If you are on Windows 10 or 11 you will likely see this:
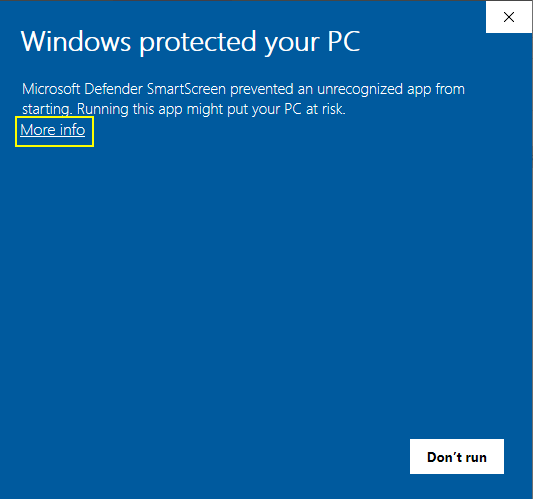
Click on More Info and it will change to this:
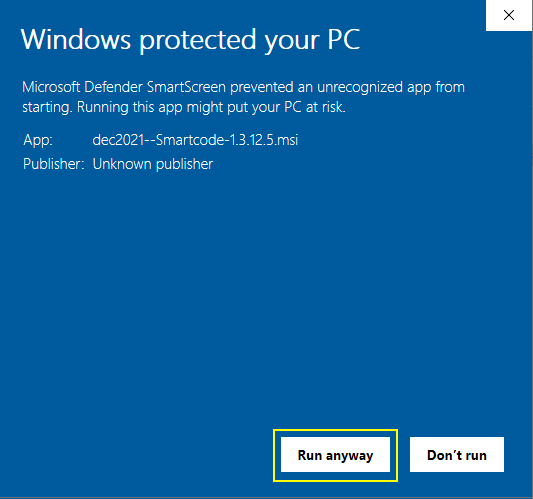
and you can click "Run anyway".
If you want to double check the safety of the application, feel free to send it to Virus Total who will scan the msi file with dozens of anti-virus solutions.
The setup application looks like this:
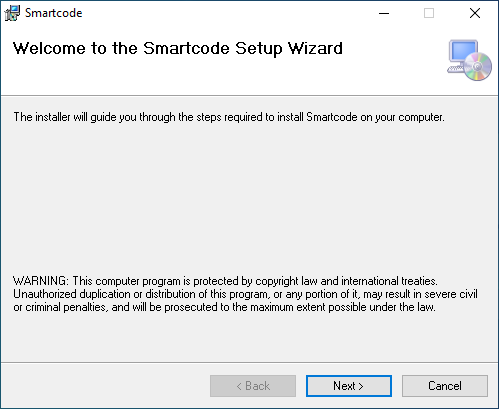
We strongly recommend keeping the default installation path, which is:
C:\Program Files (x86)\Smartcode Solutions\Smartcode\
Windows may ask if you give permission for the install:
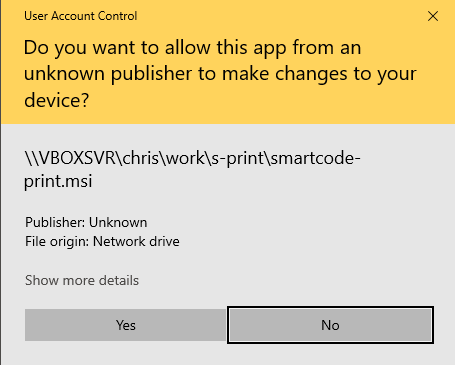
(the permission box you see might be styled differently and have a different filename)
Smartcode Desktop will set itself up to autorun on boot, meaning if you shutdown every night or reboot you won't have to worry about manually relaunching every boot.
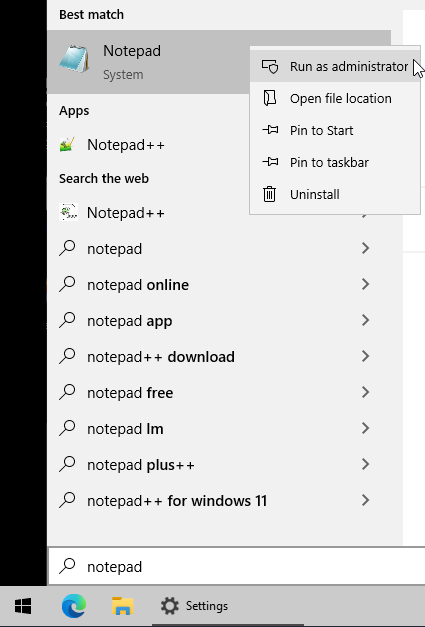
After install we need to change a file, open the start menu and type notepad, then right click on the Notepad app and Run as administrator:
File... open, and you can paste the following:
C:\Program Files (x86)\Smartcode Solutions\Smartcode\AppSettings.json
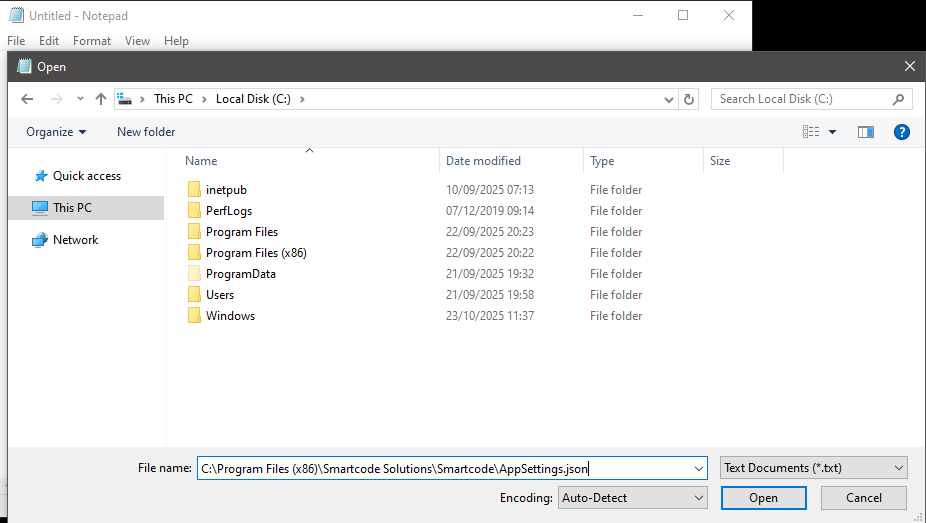
Then wipe the contents and replace with the following:
{
    "AuthorizationEndpoint": "https://app.smartcode.co.uk/smartcode/smartcode.webadmin.servlets.SmartCodeWebAdminDataInServlet",
    "PrintDocumentsEndpoint": "https://app.smartcode.co.uk/smartcode/smartcode.admin.site.servlets.SmartCodeDocumentPrintXMLServlet",
    "UpdateEndpoint": "https://app.smartcode.co.uk/spn",
    "GetPrintFilesEndpoint": "https://api.smartcode.co.uk/admin/api/getprintfiles",
    "SubmitPrintersEndpoint": "https://api.smartcode.co.uk/admin/api/submitprinters",
    "SubmitIpEndpoint": "https://api.smartcode.co.uk/admin/api/submitip",
    "GetLabelEndpoint": "https://api.smartcode.co.uk/admin/api/getlabel",
    "RemoteLoggingEndpoint": "https://app.smartcode.co.uk/smartcode/smartcode.webadmin.servlets.SmartCodeWebAdminPostageCheckerDataServlet",
    "SocketListenerPort": 65500
}
so the whole file looks like this:
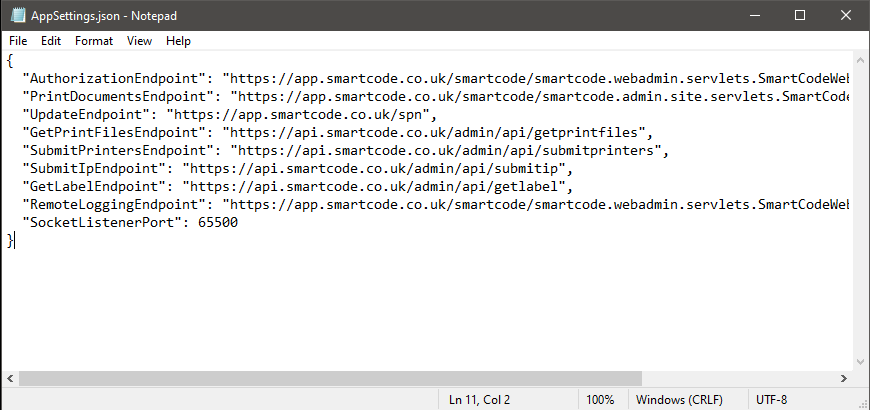
Then save and exit.
You can run Smartcode Print manually from the Start Menu, or you can reboot. In either case the first run will show a permission request that looks something like:
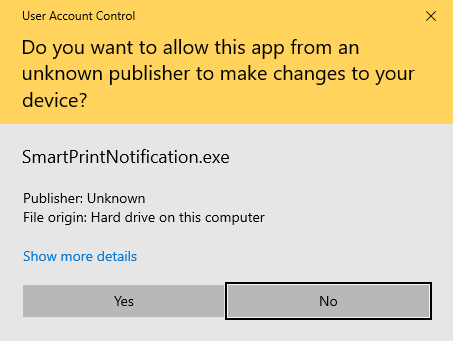
Once permission is granted, you will be presented with this:
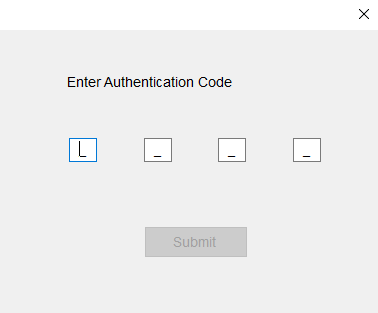
You will need to enter the PIN we gave you then click Submit. If you have not been provided with a PIN please contact Smartcode support.
Once your PIN is accepted, you'll be given a list of connected printers that looks something like this:
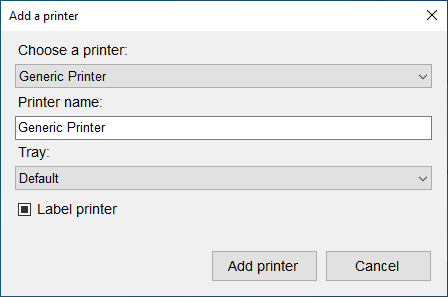
The printers listed are whatever Windows can see, including any network printers. If your printer isn't in the list please check that it's installed correctly or, if it's a network printer, that it is available over the network. We have a guide that shows you how to share your printer for Windows 7 or Windows 10/11
Please choose the printer that you wish to use. If you have more than one printer you'd like to use you'll get a chance to add more.
Note that the printer name is specific to Smartcode Desktop only, so you can name it anything to help you identify it. For example "LabelPrinter1". We recommend not using spaces or symbols as they can cause problems.
Once added, Smartcode Desktop will disappear, and lives in the system tray (it is the first icon below:)

Double clicking that icon will bring up the main Smartcode Desktop window:
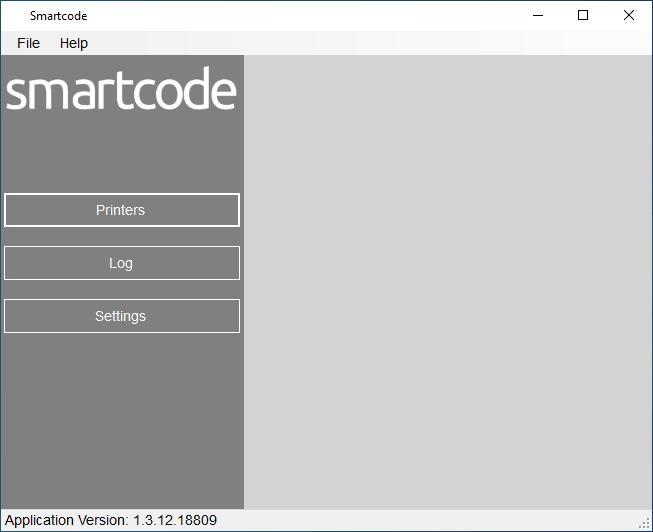
Click on Printers and you can see the Printers currently added. And you can add more by clicking Add Printer
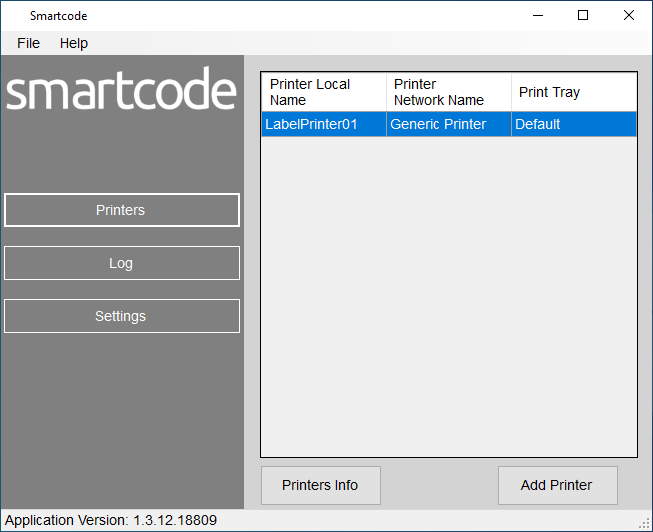
Here you can add more printers if you wish. Once you've added all the printers you want to, please right click on each printer and print a test page or label
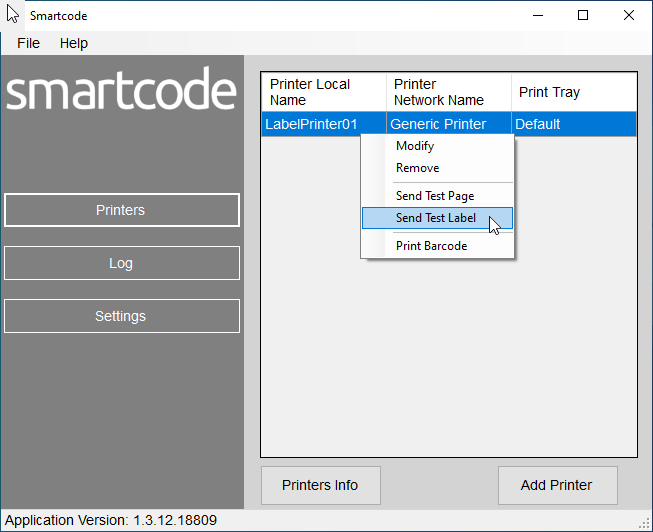
You can also remove printers, and rename or switch the used tray of printers within this menu.